Accurate mounting matters
Reliable vibration data starts with proper installation. Explore proven mounting methods to get the most from your accelerometers.
Accelerometer mounting methods and best practices
Mounting is one of the most overlooked aspects of accelerometer use—yet it has a critical impact on test accuracy. A poorly mounted sensor can distort results, particularly at high frequencies, where small mounting errors can introduce major data errors.
This guide explores the most common mounting techniques—stud, adhesive, magnetic, and wax—and outlines when to use each one. Whether you’re running modal tests, monitoring machinery, or performing high-temperature assessments, proper mounting ensures consistent and accurate results.
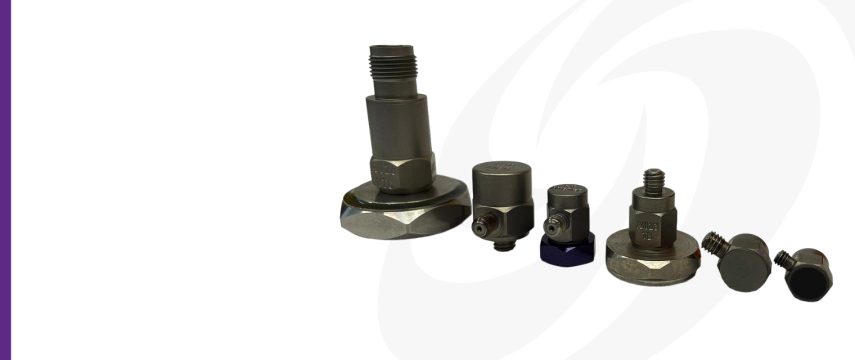
Stud mounting (Recommended for best performance)
Stud mounting is the most secure and accurate method, offering the best frequency response, especially at high frequencies. It requires a tapped hole in the test item, which isn’t always feasible, but when possible, this method should be your first choice.
Tips:
- Apply a small amount of silicone spray to improve coupling
- Always use the manufacturer’s recommended mounting torque
- Avoid overtightening, which may damage the accelerometer or the thread
Magnetic mounts (Convenient for repeat testing)
Magnetic mounts are useful for temporary tests on ferromagnetic surfaces, commonly used in machine monitoring and field testing. They offer a surprisingly good frequency response but can damage surfaces if not handled carefully.
Considerations
- Only suitable for magnetic surfaces
- Not ideal for high-vibration or ultra-precise applications
- Use high-pull-force magnets for stability
View magnetic mounting accessories
Adhesive mounting (Quick but requires care)
Adhesives offer a flexible, quick solution—but they’re also the most error-prone if misapplied. Excess adhesive can dampen vibration, impacting the sensor’s ability to measure accurately.
Best practices
- Use minimal adhesive (cyanoacrylate is recommended)
- Clean surfaces thoroughly before mounting
- Twist off the sensor—don’t pry it sideways
- Remove old adhesive before reinstallation
Petro Wax mounting (For temporary or ambient testing)
Petroleum wax is a fast and easy method for quick tests or modal analysis. It's suitable only at ambient temperatures and lower frequencies, as heat quickly degrades the bond.
Quick checklist
- Use a small amount of wax to avoid dampening
- Slide the sensor into place to improve coupling
- Do not use above room temperature conditions
Need help choosing the right method?
Not sure which mounting approach best suits your test environment or sensor? Our team is here to help you maximise measurement accuracy and test confidence.
Call us on +44 (0)1638 712 288 or contact our team using the form below.

Dive into DJB’s growing library of expert-written resources, including technical articles, selection guides, and in-depth explainers on accelerometers, cables, and signal conditioning.
Whether you’re specifying new sensors or troubleshooting complex setups, our content is designed to support your success.