News Page Admin Guide – Backend CMS Overview
Backend CMS Layout
In the CMS Backend, you will see several key fields that you need to fill out or modify when creating or editing a news story. Below is a breakdown of each section and the actions you should take.
1. Title
- Field: Title
- Description: This is the primary headline for your news story.
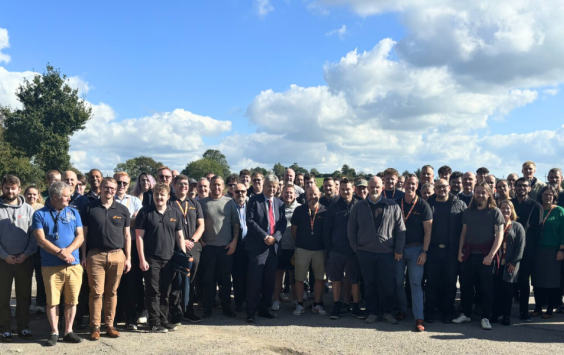
- Action: Enter a concise and informative title for the article. Ensure it reflects the main topic of the news (e.g., Career Opening Evening and Factory Tour – 7 May 2024). The news article heading needs to be short and concise. Check the title once the page is created as it will sit on the header image. While there is no character limit, it must fit onto the paper heading space, so keeping it short and sweet is the key.
2. Title Background
- Field: Title Background
- Description: Optional image to display as a background for the news title. This can add a visual element to the page.
- Action: If desired, upload a relevant image to use as the background for the page title. Ensure the image is high-quality and relevant to the content.
3. Content
- Field: Content
- Description: The main body of the article, where you can enter the detailed content of the news story.
- Action: Write or edit the body of your news article. You can use the rich text editor to format headings, bullet points, add links, or insert media like images or videos.
4. Related Assets
- Field: Assets
- Description: Allows you to add related media, such as images, videos, or documents, that support the news story.
- Action: If the news article includes supporting materials (e.g., photos from an event or a downloadable document), upload them here. A separate guide will be created for uploading media and creating images, as these need to be specifically sized to fit.
5. Author
- Field: Author
- Description: The person responsible for creating or editing the article.
- Action: This field is usually pre-populated with the editor's name (e.g., Debs). If needed, update this to reflect the correct author.
6. Revision Log Message
- Field: Revision Log Message
- Description: A brief description of any changes made to the article.
- Action: If you are making edits to an existing article, enter a message describing what was changed (e.g., Updated event details and added new media).
7. Scheduled Moderation State Change
- Field: Scheduled Moderation State Change
- Description: This controls the article’s publication status (e.g., Published, Draft).
- Action: Set the moderation state to reflect whether the article is ready for publication or needs further review. You can schedule the publication date or publish immediately.
8. Metatags
- Field: Metatags
- Description: These are the meta elements used for SEO, including the meta title, meta description, and keywords.
- Action: Enter meta information that will be displayed in search engine results:
- Meta Title: Provide a concise title (e.g., Career Opening Evening and Factory Tour – 7 May 2024).
- Meta Description: A brief overview of the article’s content (e.g., Join us for a Career Opening Evening and factory tour at CMTG: Beran and Helitune, where you can learn about engineering careers).
- Keywords: Add relevant keywords separated by commas (e.g., engineering jobs, apprenticeships, career event).
- See guidance on writing meta data
9. URL Alias
- Field: URL Alias
- Description: The SEO-friendly URL for the page.
- Action: By default, the CMS will generate an automatic alias. You can customize the URL to be more readable and SEO-friendly if needed.
10. Automatic Alias
- Field: Automatic Alias
- Description: This field generates an alias based on the page title. It’s typically used if no custom URL alias is set.
- Action: Review the generated alias, and if it’s appropriate, leave it as is. If needed, adjust it to reflect keywords or to make it shorter and more descriptive.
11. Authoring Information
- Field: Authoring Information
- Description: This section tracks the author and last modification date for the page.
- Action: This is typically auto-populated. Ensure the correct author and timestamp are listed.
12. Promotion Options
- Field: Promotion Options
- Description: Controls if and how the article will be promoted within the site (e.g., in newsletters or banners).
- Action: Set this to Not promoted unless you want the article to appear in a featured section, a newsletter, or other promotional channels.
13. News Categories (Displayed on Front End)
- Field: News Categories
- Description: This section determines which categories the article will fall under and how it will be displayed to users.
- Action: Assign the relevant brand category or categories for the article. The categories should be:
- Beran
- Prosig
- SEI
- Semia
- CMTG
- DJB
- Helitune
These categories will appear to the right of the page in the recent news column and allow users to filter content by the brand. For example, if the article is related to Beran, select Beran under the News Categories.
14. Tags (Displayed on Front End)
- Field: Tags
- Description: Tags are used to further categorise and help users find related articles.
- Action: If a tag already exists in the News Taxonomy, start typing the relevant tag and select it. If it doesn't exist, you will need to ask Debs to create the tag for you.
- Tags Example: Beran, Helitune, Condition monitoring, Vibration monitoring, Helicopter monitoring specialists, Torsional vibration.
- These tags will be displayed at the bottom of the news page to help users find related content on the same topics.
15. Save and Publish
- Once all the fields have been filled out, be sure to save your work. If the article is ready to go live, click Publish or schedule it for a later date. If it's still in draft form, it will remain in the system until you're ready to publish.
Scheduling, previous versions and excluding from search
Schedule publishing of a news article
- Navigate to the news article edit page.
- Look for the "Publishing options" section.
- Click on "Edit" next to "Published on" and set the desired future date and time for publication.
- Save the changes. The article will automatically be published at the scheduled time.
Roll back to a previous version
- Visit the edit page of the article.
- Scroll down to the "Revisions" section.
- Click on "Revisions" to view all past versions.
- Select the desired version and click "Restore this revision" to revert to it.
Exclude page from search
- Open the news article edit page.
- Scroll down to the "Promotion options" section.
- Uncheck the "Published" checkbox to hide the article from search engines.
- Save the changes.
Additional Notes
- Related Stories: These will display recent news articles in the right column of the front end, providing links to other news items that are relevant to the current article.
- News Categories: In the right column of the front end, a News Categories list will appear, providing users with the ability to filter articles by brand, such as Beran, Helitune, and others.
- Media and Image Sizing: A separate guide will be created for uploading media and creating images as these need to be specifically sized to fit and images should be uploaded to the CMS using a strict naming protocol and alt tags must be added.
See news stories for reference

Revolutionising rotorcraft efficiency
24 Feb 2025
Sean Carrington presents the STAT MedEvac RT-6 case study: six months of data on rotorcraft operations.
Celebrating 40 years of innovation
28 Nov 2024
Beran marks 40 years since Andy Lobato founded the company in 1984, and welcomes Paul Knight as its new CEO.

CMTG triumphs again at the NDMA Awards!
22 Oct 2024
CMTG wins NDMA Manufacturer of the Year 2024 for the second year running, with the University of Bristol.
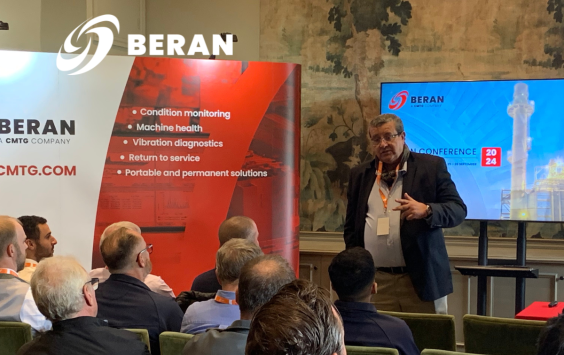
Highlights from the Beran Conference 2024
30 Sep 2024
Highlights from the Beran Conference 2024 at Chatsworth House: expert sessions, case studies and networking.